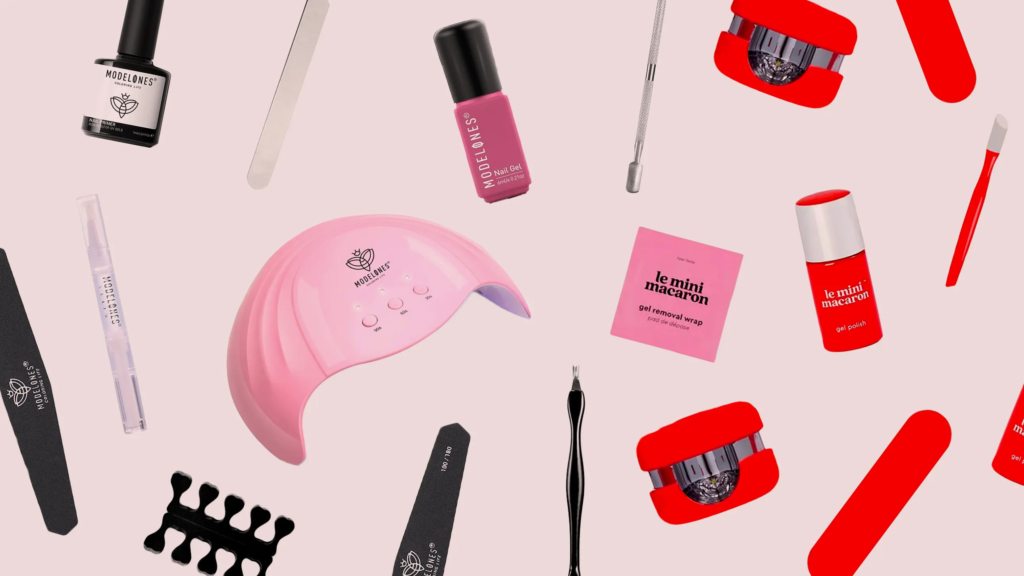
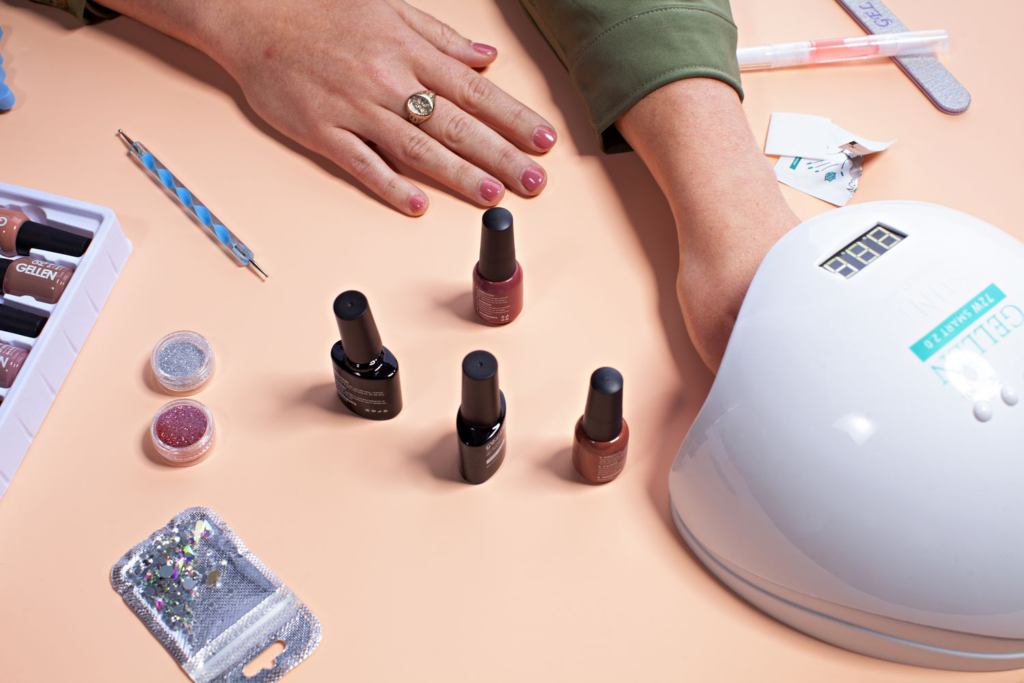
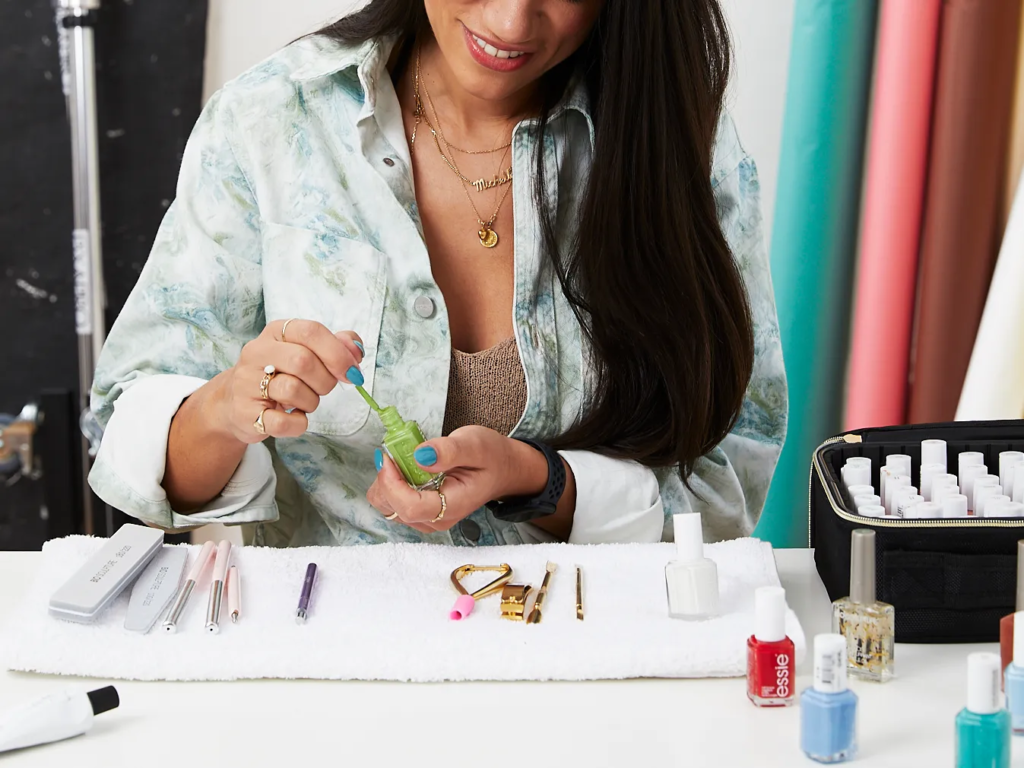
In recent years, the trend of achieving salon-quality manicures at home has skyrocketed, thanks to the rise of the at-home gel manicure kit. These kits have made it easier than ever to get that long-lasting, chip-resistant gel finish without stepping foot in a salon. For busy individuals or those who prefer a bit of DIY pampering, an at-home gel manicure kit offers the perfect solution. With the right tools, you can achieve a flawless, professional-grade manicure in the comfort of your own home.
In this article, we’ll delve into the 7 must-have items that every great at-home gel manicure kit should include. Whether you’re new to gel manicures or a seasoned pro, having these essentials will guarantee your nails are always on point.

At-Home Gel Manicure Kit.
Table of Contents
Why Choose an At-Home Gel Manicure Kit?
Gel manicures are well-known for their durability, shine, and professional look. Unlike regular nail polish, gel polish is cured under a UV or LED lamp, which hardens it and ensures that it lasts for up to two weeks or more without chipping. This longevity makes gel manicures ideal for people who are constantly on the go, as they won’t have to worry about touch-ups.
An at-home gel manicure kit allows you to maintain that beautiful, glossy finish anytime you want, without the expense and inconvenience of going to a salon. Not only can you save money over time, but you’ll also enjoy the flexibility of doing your nails at home, at your own pace.
Now, let’s explore the must-have tools that should be part of every top-notch at-home gel manicure kit.

Do you have an at-home gel manicure kit?
1. LED or UV Lamp – The Heart of the At-Home Gel Manicure Kit
The most crucial component of any at-home gel manicure kit is the LED or UV lamp. This tool is responsible for curing (hardening) the gel polish and ensuring that it adheres properly to your nails. Without it, your gel manicure won’t set, leaving you with a sticky mess.
When choosing a lamp, consider the following:
- Power: A lamp with a higher wattage (36W or above) will cure your nails faster, making the process more efficient.
- Size: A full-size lamp allows you to cure all five fingers (or toes) at once, while smaller lamps require multiple rounds.
- Timer Settings: Look for a lamp with adjustable timer settings, so you can cure your nails for the perfect amount of time based on the gel polish brand you’re using.
LED lamps are often preferred over UV lamps because they cure gel polish faster and are believed to be gentler on the skin.
2. Gel Base Coat and Top Coat – The Secret to Longevity
Every at-home gel manicure kit needs a quality gel base coat and top coat. These products are essential for achieving the long-lasting, high-shine finish that gel manicures are famous for.
- The base coat is applied first to ensure the gel polish adheres to your nail properly and to protect your natural nails from staining.
- The top coat is the final layer, providing an ultra-glossy finish and sealing in the color. It also helps to prevent chipping and adds to the durability of your manicure.
Without a strong base and top coat, your gel manicure will not last nearly as long, and you’ll miss out on that salon-quality finish that makes gel nails so desirable.
3. Gel Polish in a Variety of Colors – Express Your Style
No at-home gel manicure kit is complete without a selection of gel polishes. One of the biggest advantages of doing your nails at home is the ability to switch up your colors as often as you like, without the added cost of salon visits. From classic nudes and reds to bold, trendsetting shades, having a range of gel polish colors allows you to express your personal style.
When selecting gel polish, make sure you’re investing in high-quality, long-lasting formulas. Cheaper polishes may not last as long or may not cure properly, leading to frustration and wasted time. Many gel polish brands offer no-chip guarantees, so look for brands that promise up to 2-3 weeks of wear with proper application.
4. Nail Prep Tools – The Foundation for a Flawless Manicure
Just like in any beauty routine, prep work is essential to achieving a flawless finish. A proper gel manicure starts with clean, well-prepared nails, which means your at-home gel manicure kit must include essential nail prep tools:
- Cuticle Pusher: Gently pushes back your cuticles to create a neat, polished look and ensure the gel polish adheres to the nail bed.
- Nail File: Shapes your nails to your desired style, whether you prefer square, round, or almond-shaped nails.
- Buffer: Smooths out the surface of your nails, removing ridges and creating a smooth base for the gel polish to adhere to.
- Cuticle Trimmer: Removes excess cuticle skin that could interfere with your manicure and ensures a clean nail bed.
Properly prepping your nails before applying the gel polish will not only make your manicure look better but also help it last longer by creating a solid foundation for the polish.

Have you considered other possibilities?
5. Nail Cleanser and Lint-Free Wipes – For a Flawless Finish
To achieve the best results with your at-home gel manicure kit, you need to ensure that your nails are clean and free of oils, dust, and debris before you begin. This is where a nail cleanser comes in. A high-quality cleanser will remove any oils or residue on your nails, allowing the gel polish to adhere properly.
Additionally, using lint-free wipes is essential for cleaning your nails without leaving behind any fibers that could affect the smoothness of your gel manicure. These wipes are also perfect for removing the sticky layer left behind after curing your nails.
Some kits even come with alcohol wipes that serve the same purpose, helping you achieve a clean, professional finish every time.
6. Cuticle Oil – Nourish and Protect
After completing your gel manicure, it’s important to keep your nails and cuticles healthy and moisturized. That’s why every great at-home gel manicure kit should include cuticle oil. This nourishing oil is applied to your cuticles after your manicure to hydrate the skin around your nails, prevent dryness, and promote healthy nail growth.
Using cuticle oil regularly can help prevent hangnails and cracking, leaving your nails looking as though you’ve just walked out of the salon. Look for oils enriched with vitamins and natural oils like jojoba or almond oil for the best results.
7. Gel Polish Remover – Safely Remove Your Gel Manicure
One of the most important aspects of maintaining healthy nails while using gel polish is proper removal. You’ll need a high-quality gel polish remover in your at-home gel manicure kit to safely and effectively take off your gel polish when it’s time for a new manicure.
While many people resort to peeling or scraping off their gel polish, this can cause significant damage to your natural nails, leading to thinning and breakage. Instead, use a soak-off remover specifically designed for gel polish. These products typically contain acetone, which breaks down the gel polish without harming your nails.
Some kits even come with foil wraps or soak-off clips that make the process easier and less messy. Simply soak a cotton pad with the remover, place it on your nail, and wrap it in foil or secure it with a clip. After about 10-15 minutes, the gel polish will slide off easily, leaving your nails healthy and ready for your next manicure.

I like the idea of doing it for yourself, by yourself.
How to Achieve a Flawless Gel Manicure at Home
Now that you know the essential items in your at-home gel manicure kit, let’s walk through the steps for achieving a flawless, long-lasting manicure:
Step 1: Prep Your Nails
Start by using your cuticle pusher, nail file, and buffer to shape your nails and smooth out any ridges. Push back your cuticles gently and trim any excess skin with the cuticle trimmer.
Step 2: Cleanse Your Nails
Use a nail cleanser and lint-free wipes to clean your nails thoroughly, removing any oils or debris. This step ensures the gel polish adheres properly and lasts longer.
Step 3: Apply the Base Coat
Apply a thin layer of gel base coat to each nail, making sure to cap the free edge (tip) of the nail to prevent chipping. Cure your nails under your LED or UV lamp according to the manufacturer’s instructions (usually 30-60 seconds per hand).
Step 4: Apply the Gel Polish
Now for the fun part—applying your chosen gel polish color! Apply a thin, even layer of gel polish to each nail, again capping the free edge. Cure your nails under the lamp for the recommended time. Repeat this step with a second coat for a more opaque finish.
Step 5: Apply the Top Coat
Once your color is set, apply a layer of gel top coat to seal in the color and give your nails that high-gloss shine. Be sure to cure your nails again under the lamp to harden the top coat.
Step 6: Wipe Off the Sticky Layer
After curing your top coat, there may be a tacky layer left on your nails. Use your nail cleanser and **lint-free wipes to gently wipe away the sticky or tacky layer left after curing your top coat. This will reveal the smooth, glossy finish of your gel manicure. Be careful not to touch your nails with anything other than the lint-free wipes during this process, as you want to maintain that flawless look.
Step 7: Apply Cuticle Oil
The final step is to nourish your cuticles by applying a generous amount of cuticle oil. This will hydrate the skin around your nails, promote healthy growth, and give your nails that professional, salon-finished appearance. Plus, it adds a luxurious feel to your DIY manicure session!
Tips for a Long-Lasting At-Home Gel Manicure
Achieving a perfect gel manicure at home is easier than you might think, but keeping it looking fresh for weeks requires some know-how. Here are some extra tips to ensure your gel manicure lasts as long as possible:
- Thin Layers Are Key: When applying gel polish, it’s always better to use thin, even layers. Thick coats may not cure properly under the lamp and can lead to peeling or bubbling.
- Cap the Free Edge: Sealing or “capping” the free edge (tip) of each nail is crucial to preventing chips. Simply run your brush along the tip of your nail after applying each coat of polish.
- Moisturize Regularly: Dry nails and cuticles are more prone to chipping. Use cuticle oil and hand cream regularly to keep your nails and the surrounding skin hydrated.
- Avoid Using Your Nails as Tools: Gel nails are strong, but they’re not invincible. Avoid using your nails to open packages or pry things, as this can cause lifting or chipping.
The Benefits of Using an At-Home Gel Manicure Kit
Opting for an at-home gel manicure kit instead of going to a salon offers numerous advantages. Here are some of the top benefits:
- Cost-Effective: While the initial investment in a kit might seem high, over time, you’ll save a significant amount of money by doing your own manicures. Salon gel manicures can add up quickly, especially if you like to change your nail color frequently.
- Convenience: With an at-home kit, you can do your nails whenever you like. No need to make an appointment or leave the comfort of your home.
- Flexibility: Experiment with different colors and nail art designs whenever the mood strikes. You have complete creative control over your manicures.
- Quality Results: With the right tools and practice, you can achieve salon-quality results at home, giving you the satisfaction of a professional finish without the price tag.

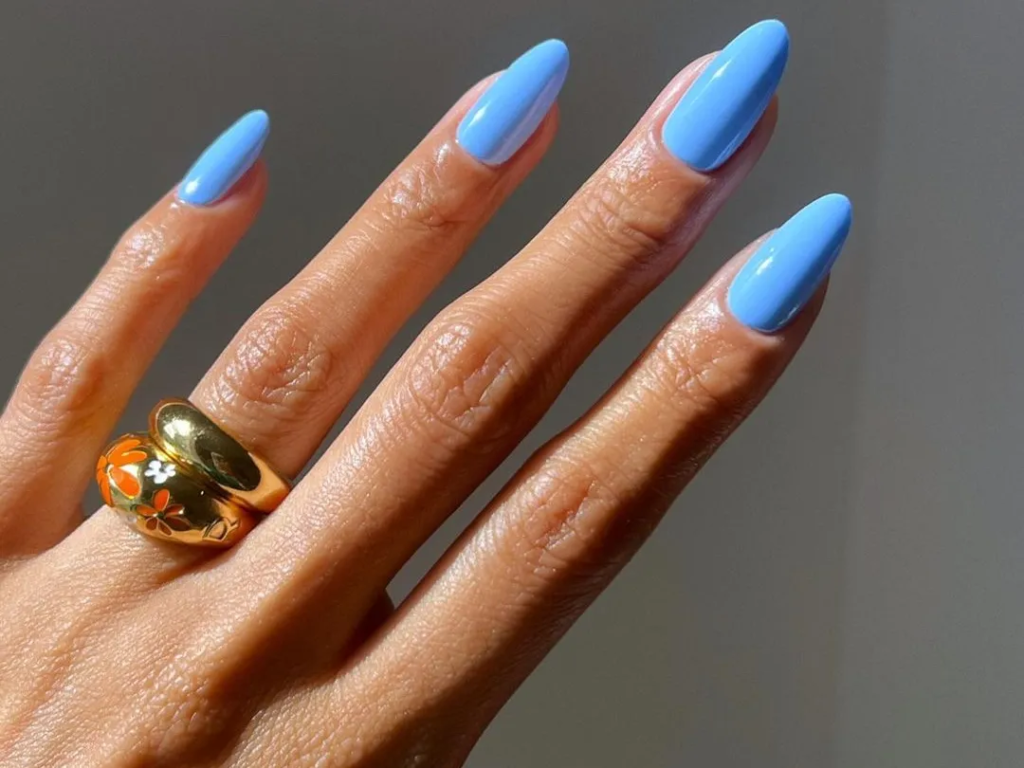
Would you be able to achieve this look at home?
Choosing the Right At-Home Gel Manicure Kit
With so many at-home gel manicure kits on the market, it’s important to choose one that suits your needs and preferences. Here are some factors to consider when shopping for the perfect kit:
- Lamp Type: Decide whether you prefer an LED lamp (faster curing) or a UV lamp (slightly slower but can cure a wider range of gel polishes). Make sure it has sufficient wattage for efficient curing.
- Number of Polishes: Some kits come with a variety of gel polish colors, while others may only include one or two. If you like to change your nail color often, look for a kit with more polish options.
- Extra Tools: Many kits include additional tools like cuticle pushers, files, and buffers, making them a complete package for first-time users.
- Reputation and Reviews: Always check reviews to ensure the kit you choose has high-quality products. A well-reviewed kit is more likely to include durable, long-lasting polishes and reliable tools.
Final Thoughts
An at-home gel manicure kit is a game-changer for anyone who loves having perfectly manicured nails but doesn’t have the time or budget for regular salon visits. By investing in a high-quality kit with all the essential tools—LED/UV lamp, base and top coats, nail prep tools, gel polishes, and proper removal items—you’ll be able to create stunning, professional-grade manicures at home.
With the 7 must-have items outlined in this guide, you’ll be well on your way to mastering the art of the at-home gel manicure, saving time and money while enjoying beautiful, long-lasting nails. So why wait? Start creating salon-perfect nails at home today with your very own at-home gel manicure kit, and enjoy the confidence and style that comes with a flawless manicure.
Sources:
https://www.allure.com/gallery/best-at-home-gel-manicure-nail-kits
https://people.com/beauty/best-at-home-gel-kits
