The beauty industry has seen countless trends come and go, but one that remains a staple is the acrylic manicure. Whether you’re aiming for bold, statement nails or a subtle, classy look, having the right acrylic manicure kit is the key to achieving professional results at home. With just a few essential tools, you can take your nail game to the next level and enjoy flawless, long-lasting nails without ever stepping into a salon.
In this article, we’ll break down the 7 must-have items in your acrylic manicure kit that will help you create stunning acrylic nails with ease. Each item plays a vital role in ensuring that your nails look polished, smooth, and glamorous, giving you the confidence to show off your hands wherever you go!

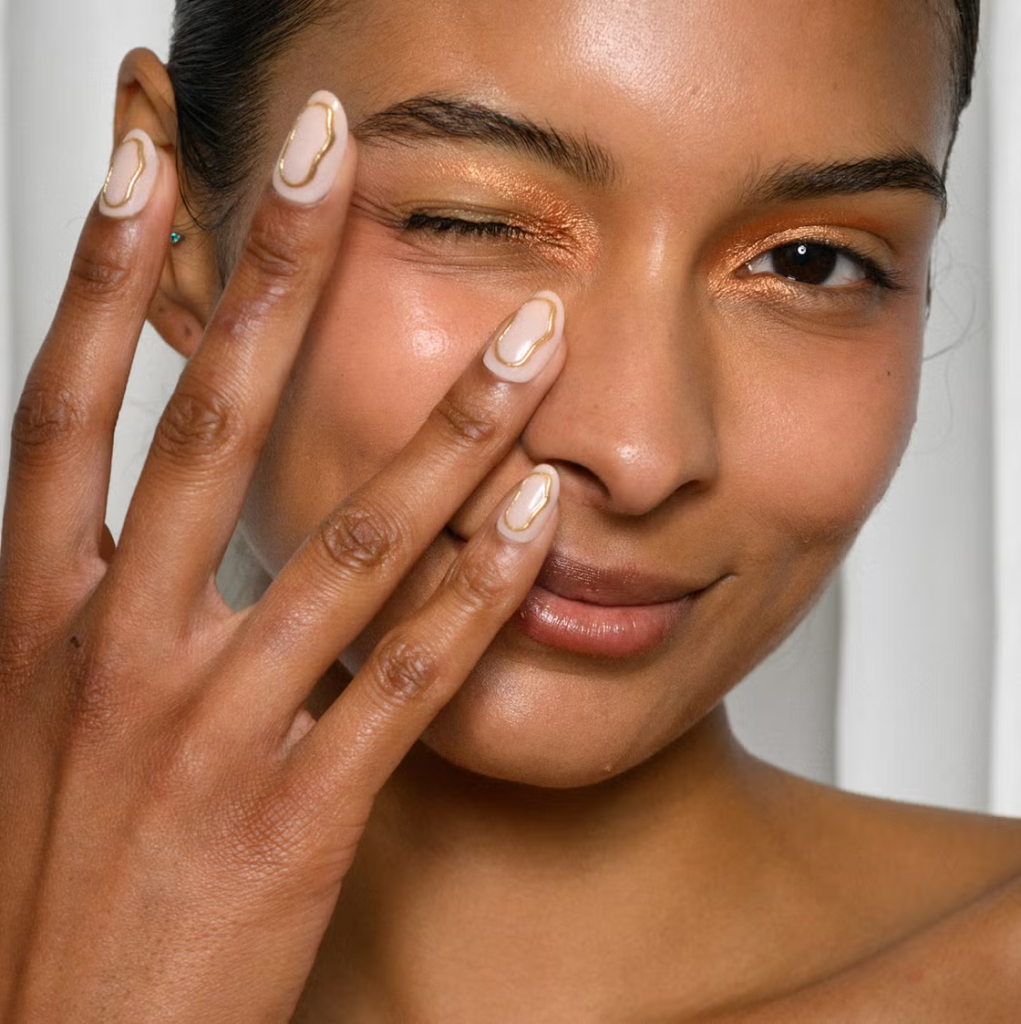
You can achieve this with the right Acrylic Manicure Kit.
Table of Contents
1. Acrylic Liquid and Powder – The Heart of Your Acrylic Manicure Kit
At the core of every acrylic manicure kit are the acrylic liquid (monomer) and acrylic powder. These two components are what form the durable, glossy acrylic nails you’re aiming for. When mixed together, they create a malleable paste that hardens into a beautiful, resilient nail.
Why You Need It:
The combination of acrylic liquid and powder gives your nails their structure and strength. With the right ratio, you can shape your nails into any length and style, from almond to coffin or stiletto, all while enjoying the long-lasting wear that acrylics are known for.
Pro Tip:
When choosing an acrylic liquid and powder, opt for high-quality products that are MMA-free (Methyl Methacrylate), as this ensures your nails stay strong without causing damage or irritation to your natural nails.

A beautiful Acrylic Nail Set.
2. Acrylic Nail Brushes – Precision and Control at Your Fingertips
The acrylic nail brush is one of the most important tools in your kit. It’s used to apply the acrylic mixture to your nails, allowing you to shape, build, and perfect your acrylic extensions. The right brush gives you the control you need to create smooth, even layers of acrylic for a flawless finish.
Why You Need It:
Without a proper acrylic brush, it’s nearly impossible to get that smooth, salon-quality look. Acrylic brushes come in different sizes, but for beginners, a size 8 or 10 is ideal as it offers enough precision without being too small.
Pro Tip:
Take good care of your acrylic brushes by cleaning them after each use with acrylic brush cleaner or monomer. This will prevent the brush from hardening and help maintain its shape for longer-lasting performance.
3. Nail Forms or Tips – Building the Foundation in your Acrylic Manicure Kit
One of the defining features of acrylic nails is their versatility in length and shape. To achieve those dramatic looks, you’ll need nail forms or nail tips. Nail forms are placed under your natural nail to guide the acrylic extension, while nail tips are pre-shaped extensions that are glued onto your natural nail before applying acrylic.
Why You Need It:
Nail forms and tips give your nails their length and shape. Whether you prefer a short, practical nail or a long, dramatic one, these tools are essential in creating the foundation for your acrylic masterpiece.
Pro Tip:
Choose tips that match the width of your natural nails for a seamless look. When using forms, ensure they are properly secured to avoid uneven acrylic application.
4. Nail Primer and Dehydrator – For Long-Lasting Acrylics
To ensure your acrylic nails last as long as possible without lifting or peeling, you’ll need to include a nail primer and dehydrator in your acrylic manicure kit. A nail dehydrator removes any oils or moisture from your natural nails, while the primer creates a tacky surface that helps the acrylic adhere better. A must have in your Acrylic Manicure Kit.
Why You Need It:
The combination of nail primer and dehydrator ensures that your acrylic nails bond securely to your natural nails, reducing the risk of lifting, chipping, or cracking. This is especially important if you want to enjoy your acrylics for weeks without frequent touch-ups.
Pro Tip:
Apply a thin layer of dehydrator followed by primer to each nail before applying acrylic. Allow them to dry for a few seconds before proceeding with the acrylic application for the best results.

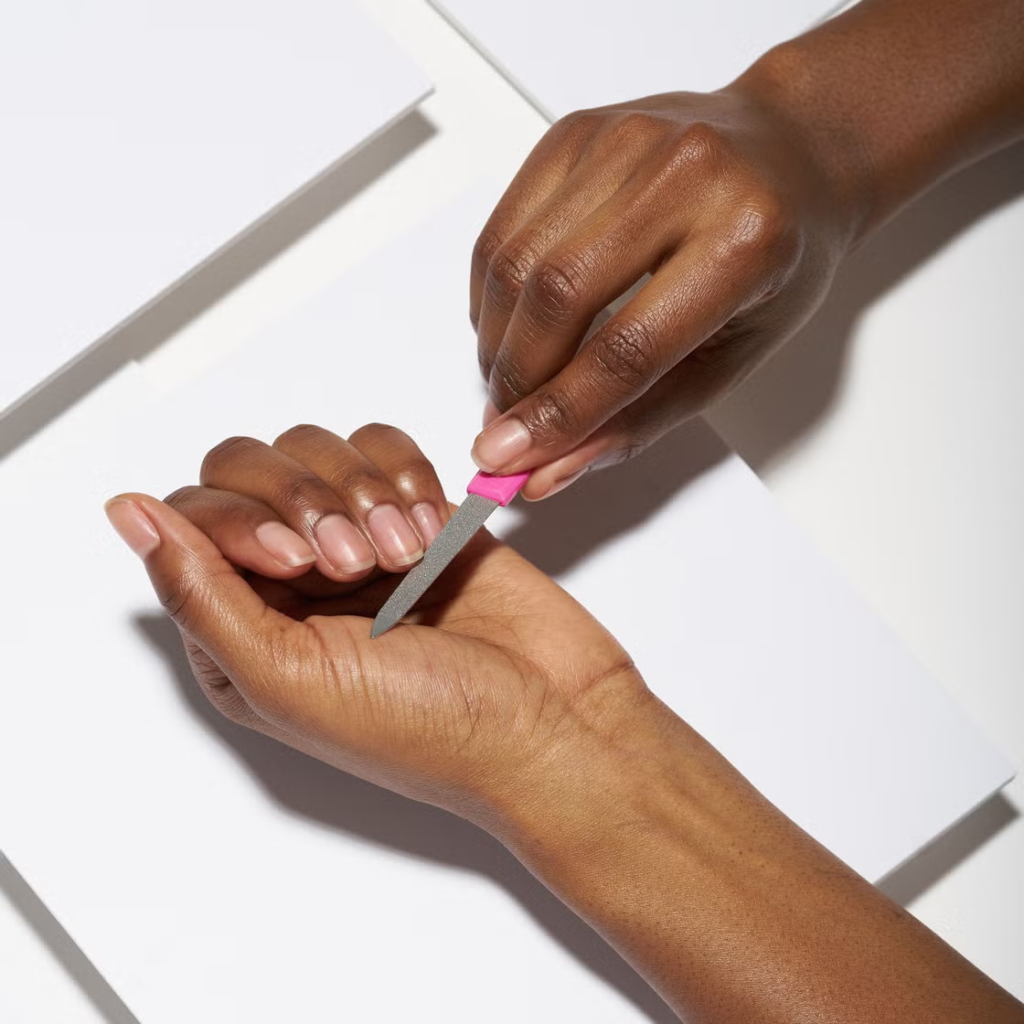
The basics.
5. Electric Nail File or Nail Drill – Smooth and Shape with Ease if this is in your Acrylic Manicure Kit
An electric nail file or nail drill is a game-changer when it comes to shaping, refining, and smoothing your acrylic nails. While manual nail files are effective, an electric nail file speeds up the process and allows for greater precision when thinning the acrylic, refining the shape, and smoothing out any imperfections.
Why You Need It:
An electric nail file saves you time and gives you the ability to create professional-grade finishes. It’s especially helpful for shaping the nail edges, smoothing the surface, and removing any excess acrylic, all while ensuring a perfectly polished look.
Pro Tip:
If you’re new to using an electric nail file, start at a low speed and use gentle pressure to avoid over-filing or damaging your nails. With practice, you’ll get the hang of it and create salon-quality results.
6. Dappen Dish and Acrylic Powder Container – For Easy Mixing
A dappen dish is a small glass or plastic container used to hold the acrylic liquid (monomer) while you work. Having a dedicated container makes it easier to control the amount of liquid you’re using and ensures that you have a clean, organized workspace.
Why You Need It:
A dappen dish helps prevent spills and ensures that you have easy access to the acrylic liquid while working. This small tool makes a big difference in keeping your acrylic application smooth and mess-free.
Pro Tip:
Use separate dappen dishes for different liquids (e.g., one for monomer and one for brush cleaner) to avoid contamination. Always clean your dappen dish after each use to prevent dried acrylic buildup.
7. Top Coat and Nail Polish – Seal and Shine
To complete your acrylic manicure, you’ll need a top coat and, if desired, nail polish. After applying and shaping the acrylic nails, the top coat provides a protective seal that adds shine and ensures your nails remain chip-resistant and glossy.
Why You Need It:
A top coat not only gives your acrylic nails a glossy, finished look but also protects them from everyday wear and tear. A high-quality top coat will keep your nails looking fresh and shiny for longer. You definitely need this in your Acrylic Manicure Kit.
Pro Tip:
For extra shine, apply two thin layers of top coat, allowing each layer to dry completely before applying the next. This will give your nails a professional finish and extend the life of your acrylics.
How to Use an Acrylic Manicure Kit for Salon-Quality Nails at Home
Now that you know the 7 essential items in an acrylic manicure kit, let’s walk through a step-by-step guide on how to use these tools for a flawless, salon-quality manicure at home.
Step 1: Prep Your Nails with your Acrylic Manicure Kit
Start by removing any old polish from your nails using an acetone-based remover. Trim your natural nails and gently push back your cuticles with a cuticle pusher.
Step 2: Apply Dehydrator and Primer from your Acrylic Manicure Kit
Once your nails are clean, apply a nail dehydrator to each nail to remove any excess oils or moisture. Follow this with a thin layer of nail primer to create the perfect base for your acrylics.
Step 3: Apply Nail Forms or Tips
If you’re using nail tips, select the appropriate size for each nail and glue them in place. If you’re using forms, secure them under your natural nails, ensuring they are properly aligned.
Step 4: Mix Acrylic Powder and Liquid from your Acrylic Manicure Kit
Pour your acrylic liquid into a dappen dish and dip your acrylic brush into the liquid. Then, dip the brush into the acrylic powder to create a small bead of product. Apply this mixture to your nails, starting at the base and working your way to the tip.
Step 5: Shape and Build
Use the acrylic brush to shape and build the acrylic on each nail. Be sure to work quickly and precisely, as the acrylic will harden within minutes. Once the acrylic has set, file and shape the nails to your desired style using a manual or electric nail file.
Step 6: Buff and Smooth
Once your acrylic nails are shaped to perfection, use a buffer to smooth out any ridges or imperfections. This step is crucial for ensuring a smooth, even surface before applying polish.
Step 7: Apply Top Coat and Polish
Finish off your acrylic nails by applying a high-shine top coat to seal in the acrylic and add a glossy finish. If you prefer, you can also apply a layer of nail polish before the top coat for a pop of color.

What do you think of this trend?
Acrylic Manicure Kit Maintenance: How to Keep Your Tools in Top Condition
Once you’ve invested in a high-quality acrylic manicure kit, it’s important to take care of your tools to ensure they last. Proper maintenance not only extends the life of your kit but also ensures that your manicures remain flawless and safe. Here are some quick tips for keeping your tools in tip-top condition:
– Clean Your Brushes:
After each use, clean your acrylic brushes with brush cleaner or monomer to prevent acrylic from hardening in the bristles.
– Store Properly:
Keep your acrylic liquid, powder, and other items in a cool, dry place to prevent them from drying out or becoming contaminated.
– Sterilize Your Tools:
For tools like nail files, forms, and tips, be sure to sanitize them between uses to prevent the buildup of bacteria and other harmful contaminants.
Final Thoughts
Investing in an acrylic manicure kit is one of the best ways to achieve salon-quality nails.

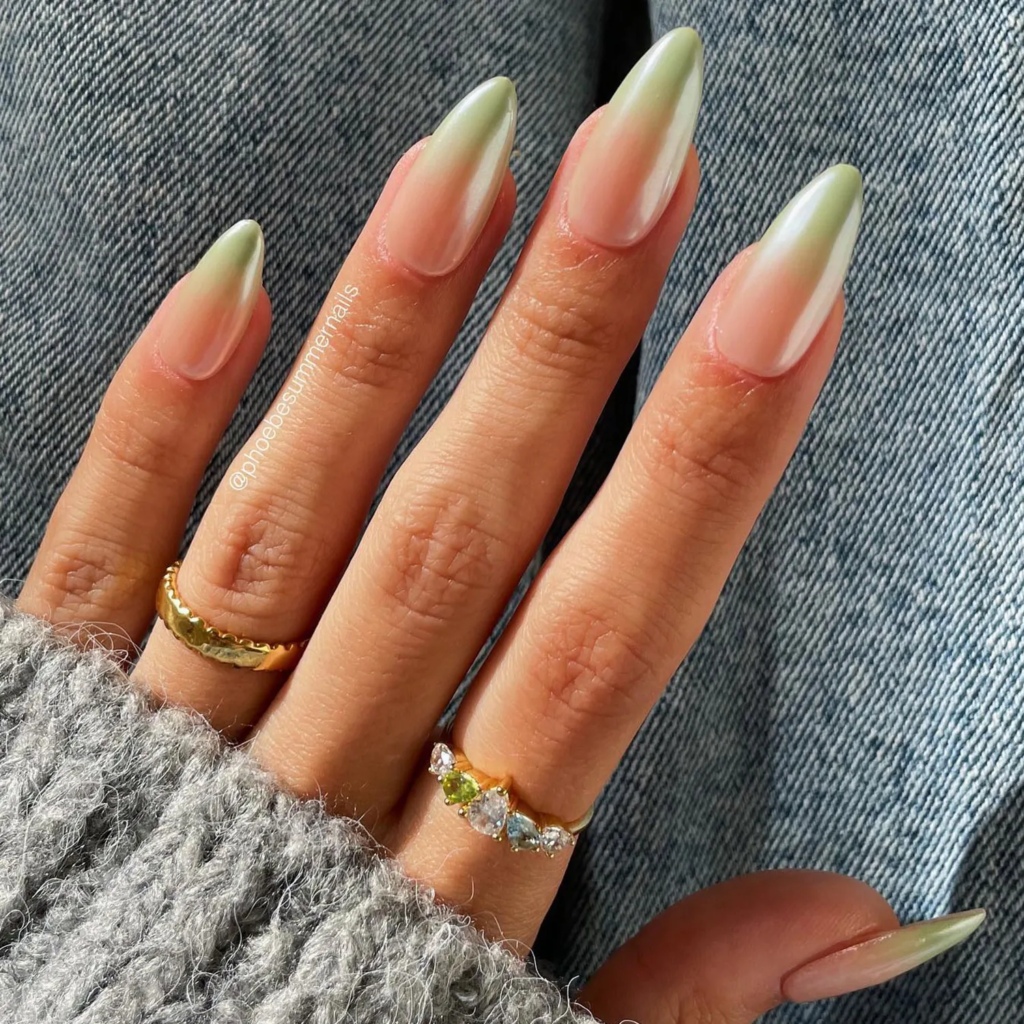
Acrylics are definitely in.
Sources:
https://www.cosmopolitan.com/style-beauty/beauty/g38380852/best-acrylic-nail-kits
https://www.harpersbazaar.com/beauty/nails/g43577287/best-acrylic-nail-kits
https://www.vogue.com/article/how-next-level-nails-became-this-seasons-must-have-accessory
