A glue gel manicure has revolutionized the world of DIY nail art, offering a durable and versatile solution for achieving professional-looking nails at home. If you’re looking for a way to make your manicure last longer while maintaining that flawless, salon-quality appearance, glue gel might be the secret weapon you need.
In this comprehensive guide, we’ll take you through 5 essential steps to mastering the art of a glue gel manicure. By the end of this article, you’ll know everything there is to know about preparing, applying, and maintaining your manicure, ensuring your nails stay beautiful and strong for weeks on end.

What’s your thoughts on the Glue Gel Manicure?
Table of Contents
What Is a Glue Gel Manicure?
Before diving into the steps, let’s clarify what a glue gel manicure is. Unlike traditional gel or acrylic nails, glue gel is a hybrid product used to extend the longevity of a manicure by bonding artificial or natural nails more securely. It’s often used with nail extensions, overlays, or as an adhesive layer under gel polish to create a strong, long-lasting bond. It can also be used as a base layer, sealing nails for a smooth, polished look.
The major appeal of glue gel manicures lies in their durability, offering a seamless finish that lasts much longer than regular polish without chipping or peeling.
1. Prepare Your Nails for the Ultimate Glue Gel Manicure
The first step in achieving a flawless glue gel manicure is proper nail preparation. Just like with any manicure, the longevity and appearance of your nails will depend heavily on how well you prep them beforehand. This involves cleaning, shaping, and creating a smooth surface for the glue gel to adhere to.
Why You Need It:
Prepping your nails ensures the glue gel bonds properly with the nail surface, which is key for a long-lasting manicure. If you skip this step, your manicure might peel or lift sooner than expected.
How to Do It:
- Clean and Trim: Start by cleaning your nails thoroughly to remove any oils, dirt, or residue. Trim your nails to your desired length, ensuring they’re even and shaped to your preference.
- Push Back Cuticles: Use a cuticle pusher to gently push back your cuticles. This not only helps you achieve a cleaner look but also prevents lifting around the cuticle area once the glue gel is applied.
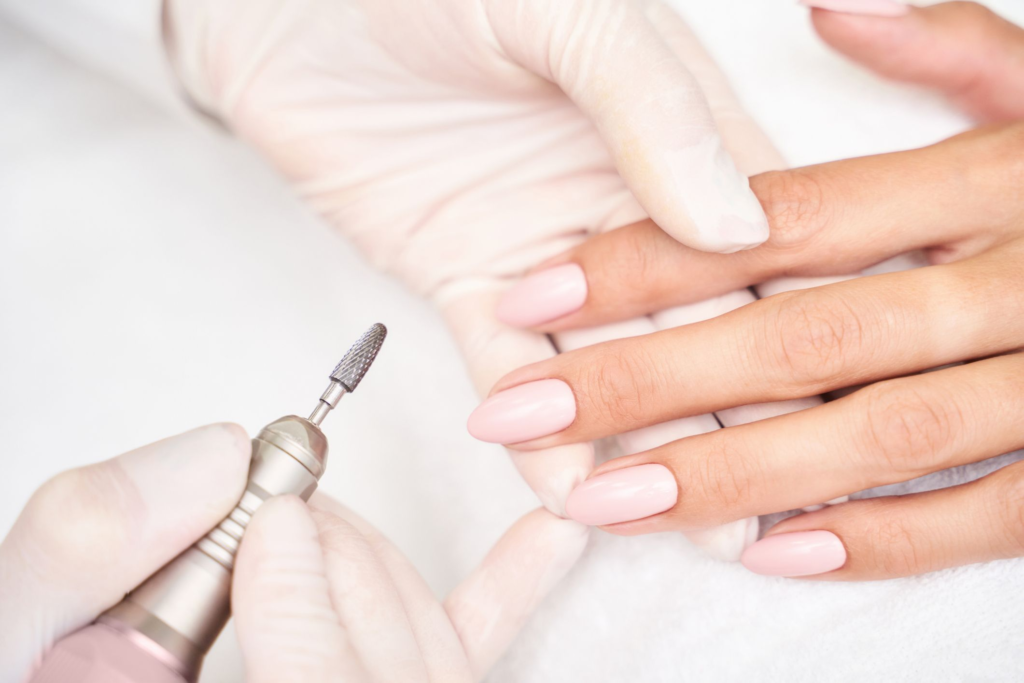
- Buff the Nail Surface: Lightly buff the surface of your nails using a fine-grit buffer. This creates a slightly rough surface for the glue gel to adhere to. Be careful not to over-buff, as this can weaken your natural nails.
Pro Tip:
Use a nail dehydrator or alcohol-based cleanser to remove any remaining oils from the nail surface. This step is crucial for ensuring maximum adhesion of the glue gel.

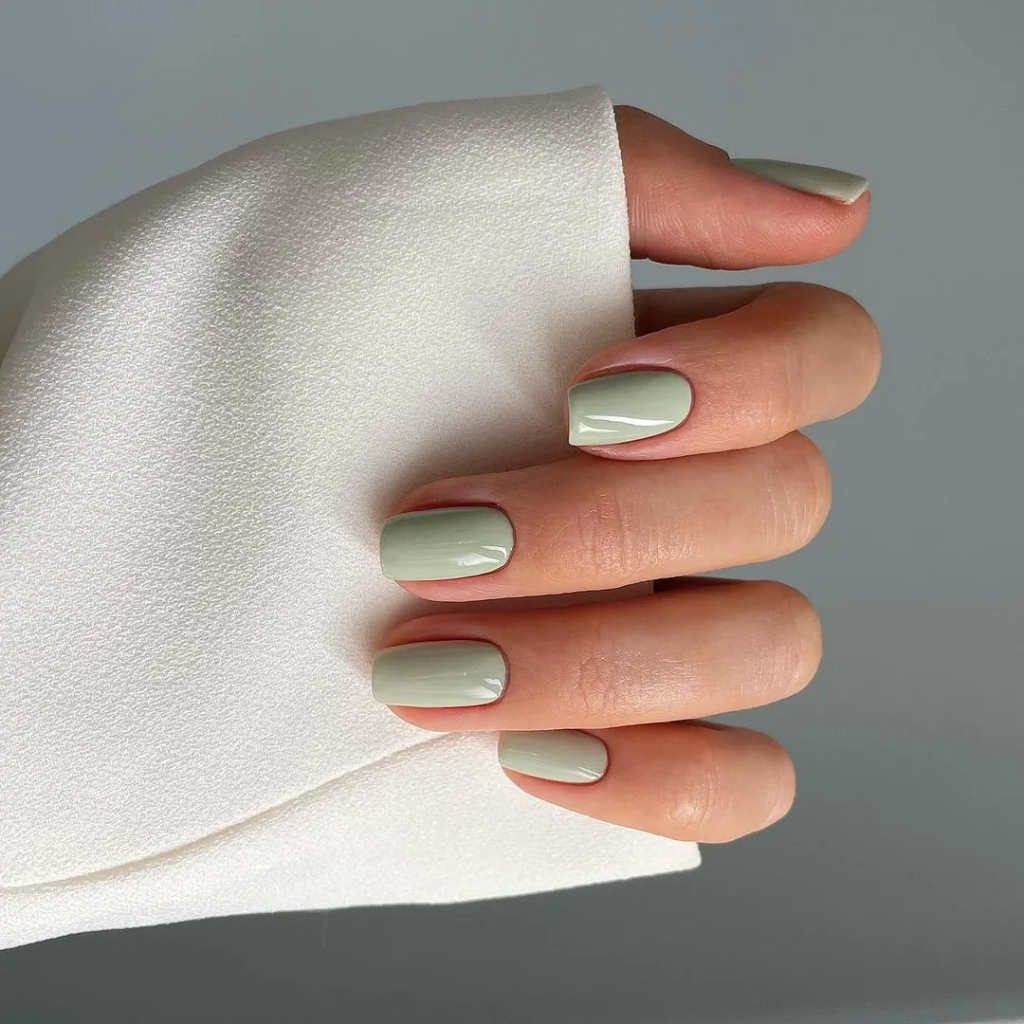
A mint glue gel manicure? Yes please!
2. Choose the Right Glue Gel Products for Professional Results
The type of glue gel you choose will have a big impact on the success of your manicure. There are various glue gel products available on the market, some specifically designed for different types of nails or applications. The key is to select a high-quality product that suits your needs.
Why You Need It:
High-quality glue gel ensures a strong bond that will keep your manicure looking fresh and intact for weeks. Cheap or low-quality glue gels can lead to peeling, lifting, and even damage to your natural nails.
How to Do It:
- Opt for Professional Brands: Look for professional-grade glue gels from reputable brands like Gelish or IBD. These brands offer glue gels that are durable, easy to work with, and safe for natural nails.
- Consider the Viscosity: Glue gels come in different viscosities (thicknesses). Thicker gels are typically easier to control and work well for beginners, while thinner gels may require more precision but offer a smoother finish.
- UV or LED Compatibility: Ensure that your glue gel is compatible with the curing lamp you have, whether it’s UV or LED. Most modern glue gels work with both, but it’s always good to double-check.
Pro Tip:
If you’re prone to nail breakage or want extra reinforcement, choose a glue gel that offers additional strength and flexibility. Some glue gels are specifically formulated to provide extra support for weak or brittle nails.
3. Master the Art of Applying Glue Gel for a Flawless Finish
The application process is where the magic happens. Applying glue gel can seem intimidating at first, but with the right technique, it’s easy to achieve a smooth and professional finish. This step involves layering the glue gel carefully, ensuring even coverage and bonding.
Why You Need It:
Even application is crucial for a flawless glue gel manicure. Uneven layers can cause bumps, bubbles, or lifting, which will detract from the overall look of your nails.
How to Do It:
- Apply a Thin Layer: Start by applying a very thin layer of glue gel to the surface of your nails, making sure to cover the entire nail plate. You don’t need much product to achieve a strong bond—less is often more.
- Use a Small Brush for Precision: If you’re applying glue gel to small areas like the edges or corners of your nails, use a small, fine brush for better control and precision.
- Avoid the Cuticles: Be careful not to apply glue gel too close to the cuticles, as this can cause lifting and make the manicure look messy.
- Cure Under a Lamp: After applying the glue gel, cure your nails under a UV or LED lamp according to the manufacturer’s instructions. This will harden the gel and create a solid foundation for your manicure.
Pro Tip:
If you’re applying glue gel as part of a nail extension or overlay, apply the gel to the extension or form first, then place it on the nail. This will ensure the extension bonds securely to your natural nail.

Do you like gel manicures?
4. Seal the Deal with a Glossy Top Coat
Once your glue gel is applied and cured, it’s time to finish off your manicure with a top coat. A high-quality gel top coat will seal in your glue gel, providing a glossy, smooth finish that protects your manicure from chipping and peeling.
Why You Need It:
A top coat is essential for adding shine and longevity to your glue gel manicure. It acts as a barrier, protecting your nails from daily wear and tear while giving them that coveted high-gloss finish.
How to Do It:
- Apply an Even Layer: Using a gel top coat, apply an even layer over the entire nail, sealing in the glue gel underneath. Be sure to cap the free edge of your nails to prevent chipping.
- Cure Again: Once the top coat is applied, cure your nails under the lamp for the recommended time. This will lock in the shine and ensure your manicure stays flawless for weeks.
- Wipe Off the Sticky Layer: After curing, you may notice a slightly sticky residue on your nails. Simply wipe it off with an alcohol wipe or cleanser for a smooth, non-tacky finish.
Pro Tip:
For extra durability, consider using a no-wipe top coat. These top coats cure without leaving a sticky layer, making them convenient and easy to use.
5. Maintain Your Glue Gel Manicure for Long-Lasting Results
Your glue gel manicure can last for up to three weeks or longer if properly maintained. Regular upkeep will ensure your nails stay strong, healthy, and looking salon-fresh.
Why You Need It:
Proper maintenance not only extends the life of your manicure but also protects your natural nails from damage. Without regular care, your nails may become dry or brittle, leading to peeling or breakage.
How to Do It:
- Moisturize Daily: Keep your cuticles and nails hydrated by applying cuticle oil or moisturizer daily. This prevents your nails from becoming brittle and helps maintain the integrity of the glue gel.
- Avoid Harsh Chemicals: Protect your nails from exposure to harsh chemicals by wearing gloves when doing chores like cleaning or washing dishes. Prolonged exposure to water and cleaning agents can weaken the glue gel and cause lifting.
- Touch Up When Needed: If you notice any chips or small lifts, you can touch them up by applying a small amount of glue gel and curing it under the lamp. This quick fix will help extend the life of your manicure without having to redo the entire process.
Pro Tip:
If you want to remove your glue gel manicure, avoid peeling or prying it off, as this can damage your natural nails. Instead, soak your nails in acetone or use a professional gel removal kit to safely dissolve the glue gel.

Why a Glue Gel Manicure Is a Game-Changer for Your Nail Routine
If you’re tired of regular manicures that chip within days or dealing with the hassle of acrylics, a glue gel manicure offers the perfect balance of durability, flexibility, and beauty. Here are a few reasons why glue gel manicures have become so popular among DIY enthusiasts and professional nail artists alike:
1. Long-Lasting Durability:
Glue gel offers superior longevity compared to regular nail polish or even standard gel polish. With proper application and maintenance, your manicure can last up to three weeks without chipping or peeling.
2. Strong Bond for Extensions:
If you’re using nail extensions, glue gel creates a strong, secure bond between your natural nail and the extension, ensuring that the nails stay in place without lifting.
3. Versatile and Easy to Use:
Whether you’re a beginner or a seasoned nail artist, glue gel is versatile and easy to work with. It can be used for overlays, extensions, or simply to reinforce your natural nails.
4. Protects Natural Nails:
Glue gel adds an extra layer of protection to your natural nails, preventing
breakage and damage. This is especially helpful for those with weak or brittle nails.
Conclusion: Master the Art of a Glue Gel Manicure
Achieving a flawless glue gel manicure at home is easier than you might think. By following these 5 essential steps and using high-quality products, you can create a durable, long-lasting manicure that rivals anything you’d get at a salon. Whether you’re looking for a solution to extend your nails or just want to enjoy chip-free color for weeks, glue gel is a game-changer for your nail routine.
With the right preparation, application, and maintenance, you’ll be able to enjoy beautiful, strong nails that turn heads wherever you go.
Sources:
https://www.voguescandinavia.com/articles/3-at-home-diy-alternatives-to-your-next-nail-appointment
https://www.vogue.com/article/mint-manicure
https://www.cosmopolitan.com/style-beauty/beauty/g60916505/best-at-home-gel-nail-kits/
